?
What’s in the Box?
 CAUTION: Do not attempt to install, activate, or adjust any of the setting options described in this Quick Start Guide unless your vehicle is parked in a safe location.


CAUTION: Do not attempt to install, activate, or adjust any of the setting options described in this Quick Start Guide unless your vehicle is parked in a safe location.
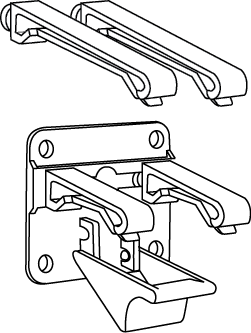
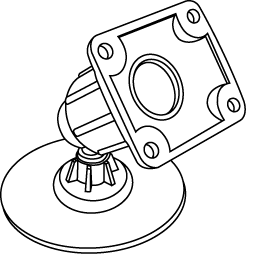
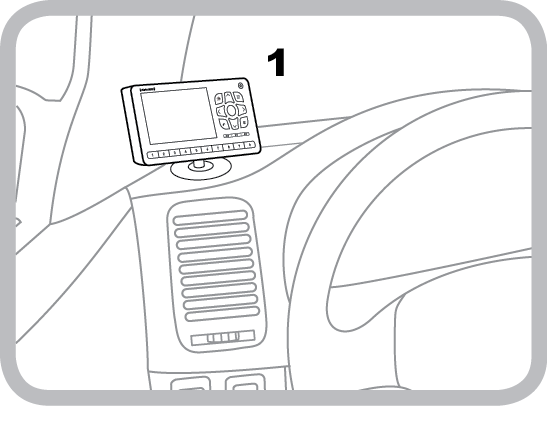
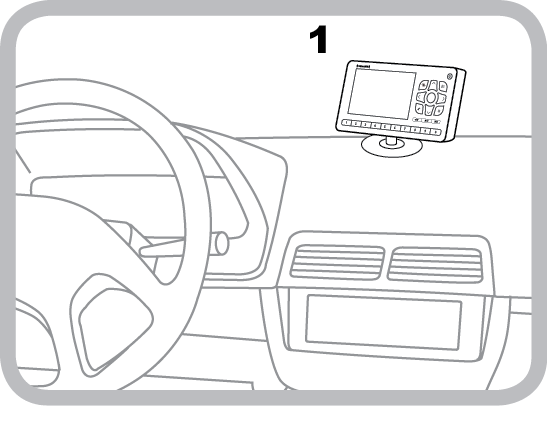
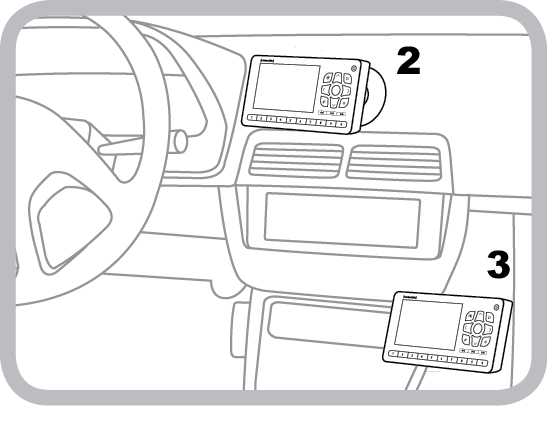
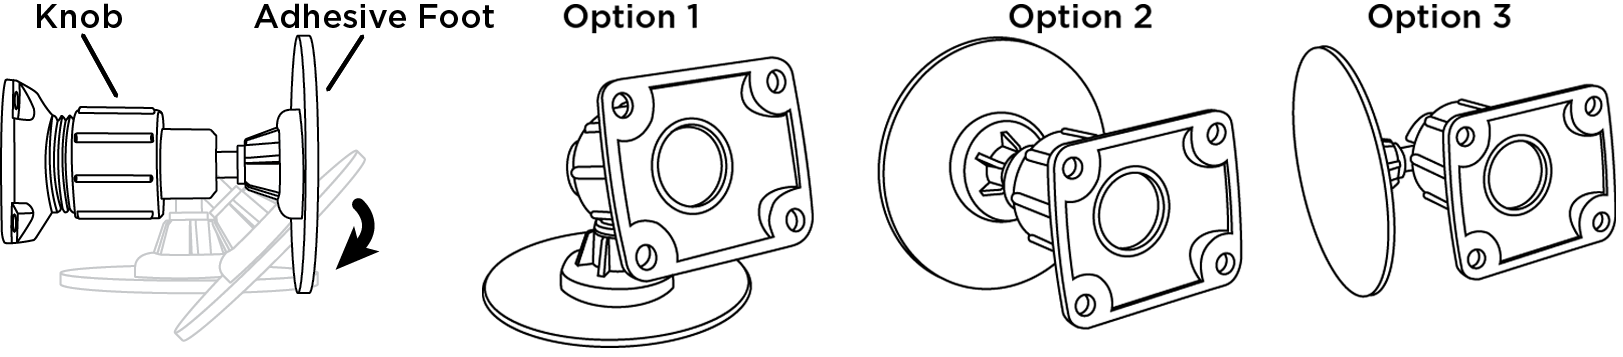
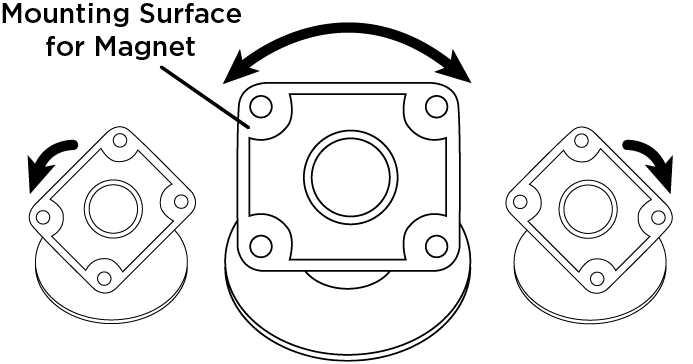
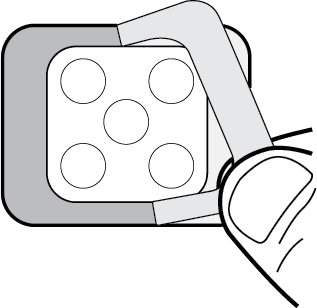
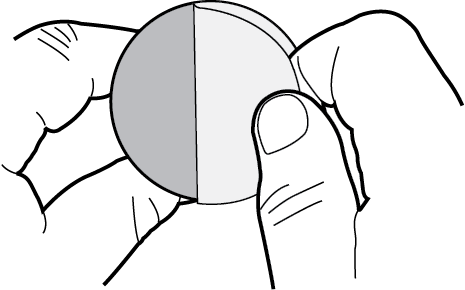
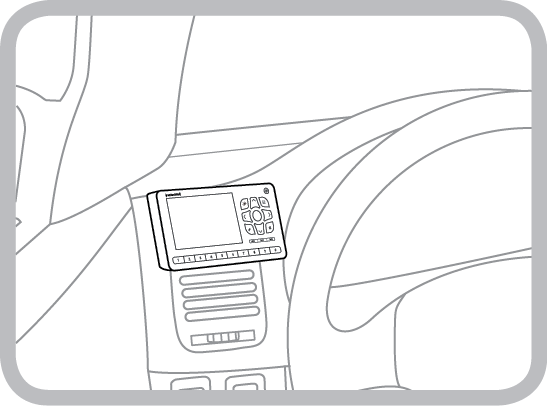
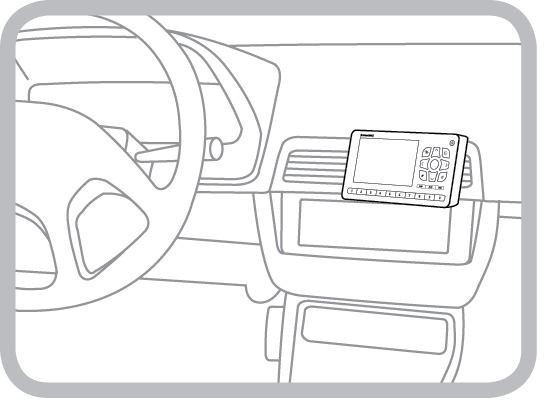
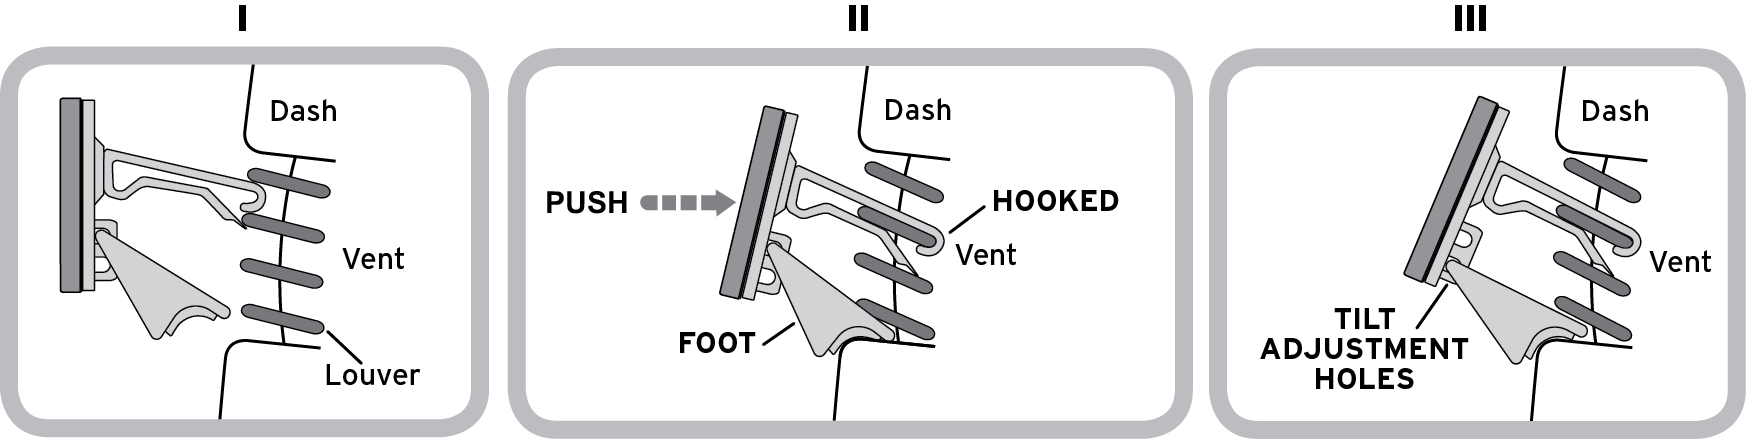
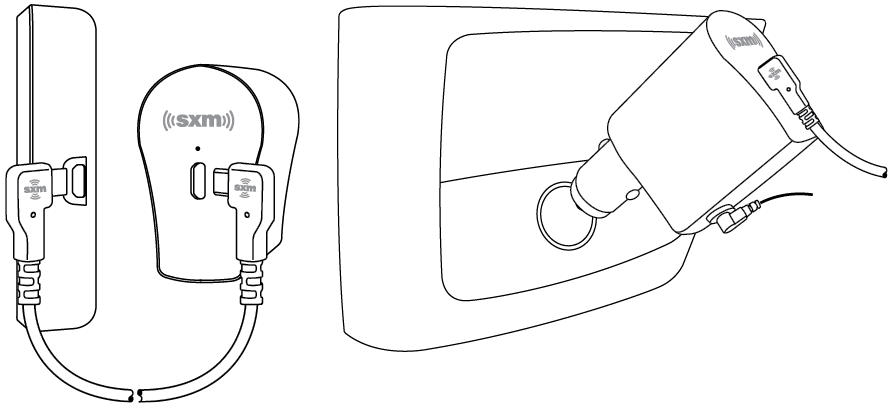
Select either the Dash Mount method or the Vent Mount method for mounting the Roady BT, or, if there is a metal surface in the vehicle, the Magnet can be attached directly to the metal surface without using the Dash or Vent Mount. Other magnetic type mounts may also be purchased separately from other vendors.
IMPORTANT: The air temperature needs to be at least 60°F to install the Dash Mount. If needed, turn on the heater in your vehicle.


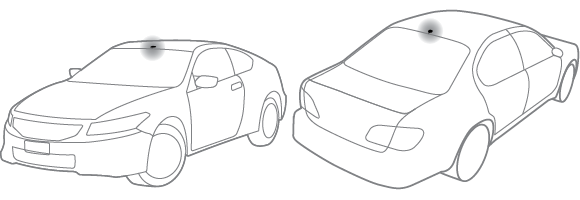
Sedans and Coupes
(above front windshield or rear window)
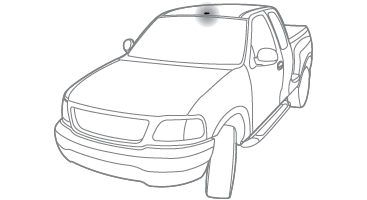
Pickups
(above front windshield)
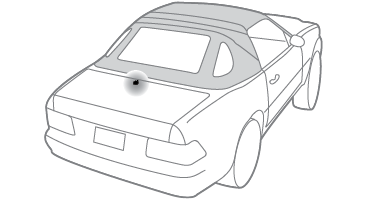
Convertibles
(leading edge of trunk)
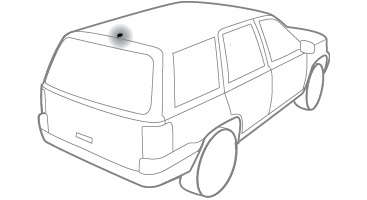
SUVs
(rear of roof)
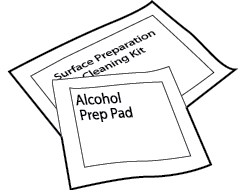
TIP: Use the Alcohol Prep Pad to clean the surface.
NOTE: These instructions are for a sedan or coupe where the antenna is mounted above the front windshield. The Roady BT User Guide has detailed antenna cable routing instructions for all types of vehicles. Go to https://www.siriusxm.com/guides for the User Guide.
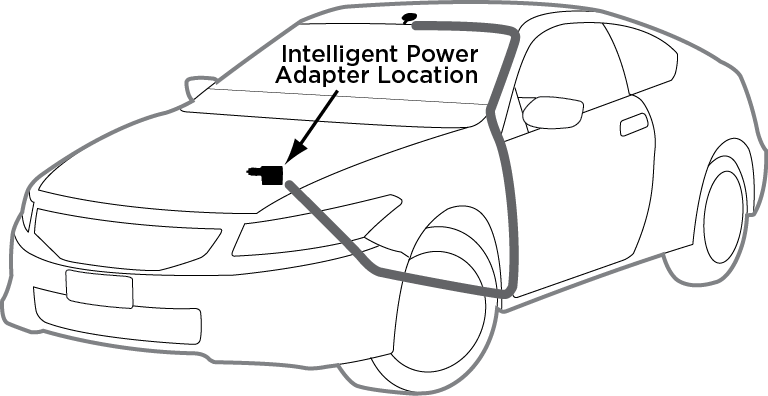
TIP: Include enough slack in your routing to accommodate open doors or the hood lid. Coil any excess cable in a hidden location and keep it away from any vehicle pedals or controls.

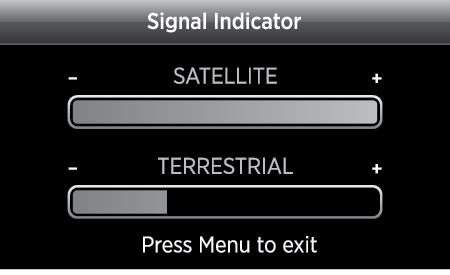
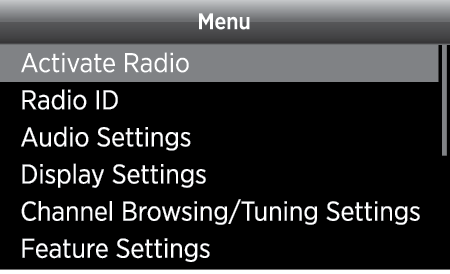
 to scroll to and highlight Signal Indicator. Press the Select button. The Satellite and Terrestrial bars show the strength of the signal being received. If the signal reception is good, press and hold the Menu button to return to XM channel 1, the XM Preview channel.
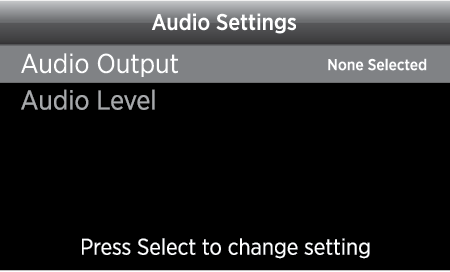
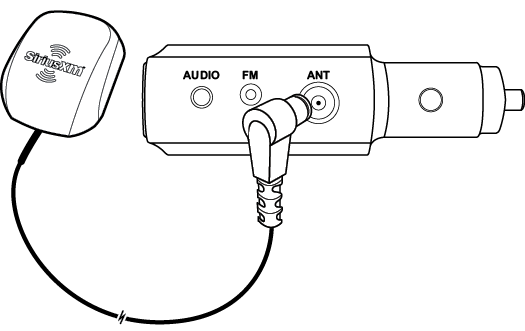
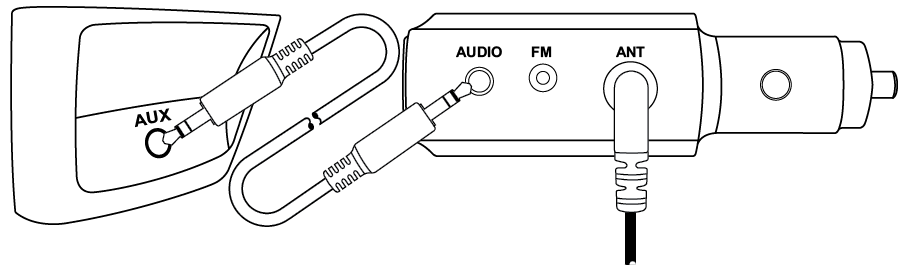
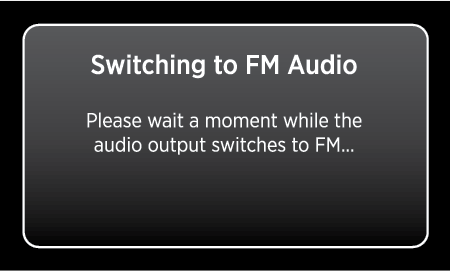
Decide on one of the in-box audio connection options, Aux or Bluetooth®, or you can connect the audio using an FM Direct Adapter (FMDA25) (sold separately, professional installation recommended). Refer to the three following sections for each audio option installation.
Note that initially no audio connection option is selected for Roady BT. For each of the following audio connection options you will first need to select the desired audio option before the SiriusXM audio can be heard.
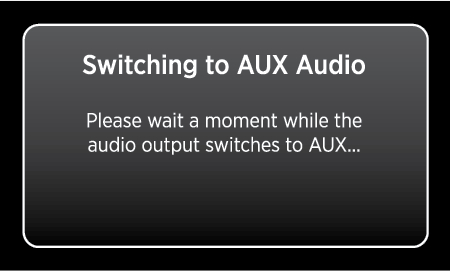
 to highlight Audio Settings and press Select.
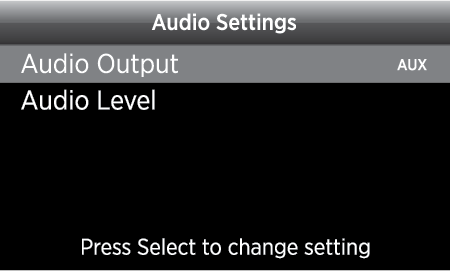
TIP! Refer to your vehicle owner’s manual to find the location of the auxiliary input jack, or consult the vehicle dealer.
Note that Roady BT is only compatible with radios and headunits which support the Bluetooth audio streaming protocol. If the vehicle radio/headunit only supports the Bluetooth phone protocol, Bluetooth cannot be used for the Roady BT audio connection.
to highlight Audio Settings and press the Select button.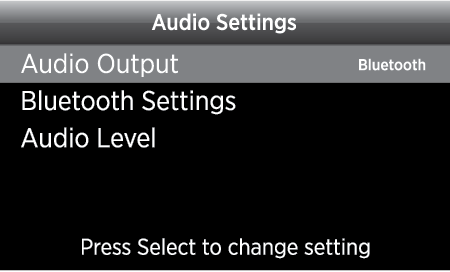
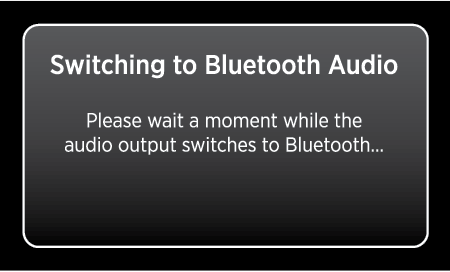
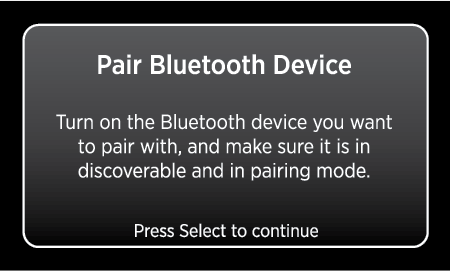
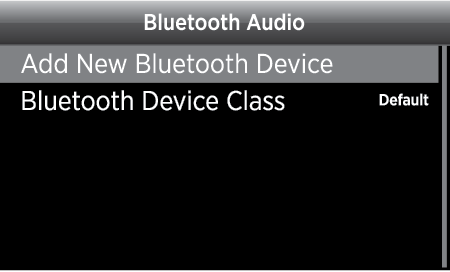
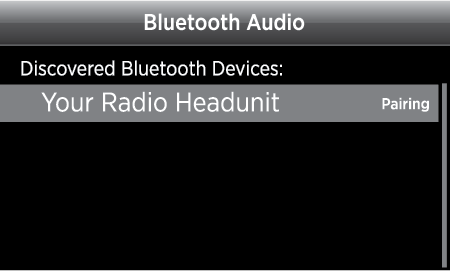
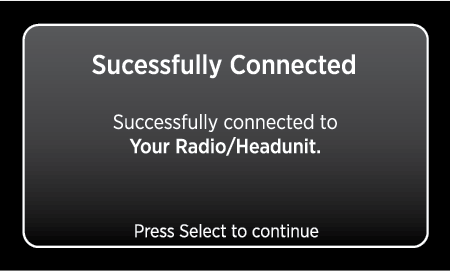 to highlight Bluetooth Settings and press the Select button. to highlight the name and press the Select button. (If you don’t know the Bluetooth name of the radio/headunit, refer to the vehicle owner’s manual for the name.)
If Roady BT was unsuccessful in pairing and connecting, a different Bluetooth pairing and connecting method may necessary for this vehicle’s radio/headunit. Please refer to the Roady BT User Guide for additional pairing and connecting methods (siriusxm.com/guides), and also the Roady BT FAQs for the very latest Bluetooth tips and information.
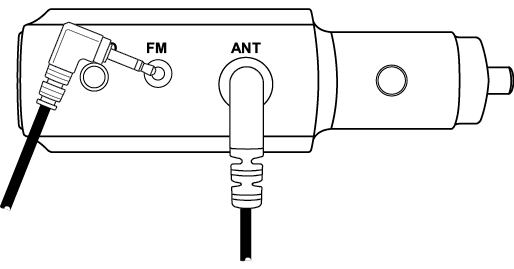
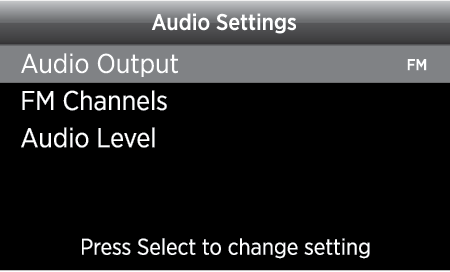
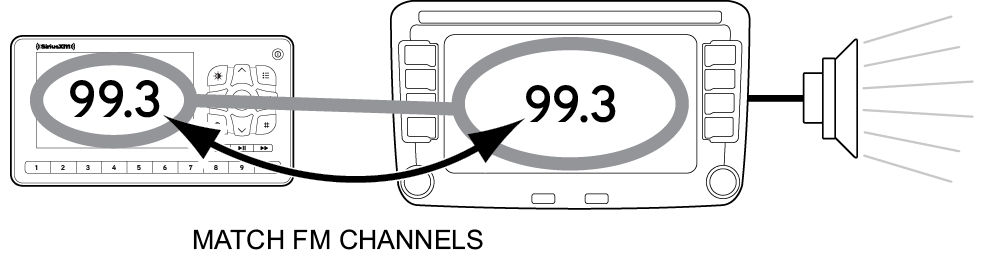 to highlight Audio Settings and press the Select button. to scroll to and highlight Audio Settings and press the Select button. to scroll to and highlight FM Channels and press the Select button. to scroll to and highlight FM2. Press the Select button.
 and
and  to tune in steps of .2, or press and
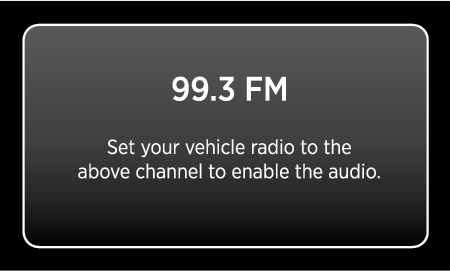
  to tune in steps of 1 to select the available FM channel you have chosen. Press the Select button to select the FM channel.
TIP! You may find an FM channel with static or silence on the vehicle’s FM radio that does not work with Roady BT. It is possible that some type of inaudible interference is present that prevents reception of the SiriusXM broadcast. The options are to use another FM channel or a different audio connection method.
You can follow either the general activation and subscription process or use the on-board activation guide to activate your Roady BT and subscribe to the SiriusXM service.

Activation usually takes 10 to 15 minutes after you have completed the subscription process, but may take up to an hour. We recommend that your Radio remain on until subscribed. Once subscribed, the Radio will receive and you can tune to the channels in your subscription plan.
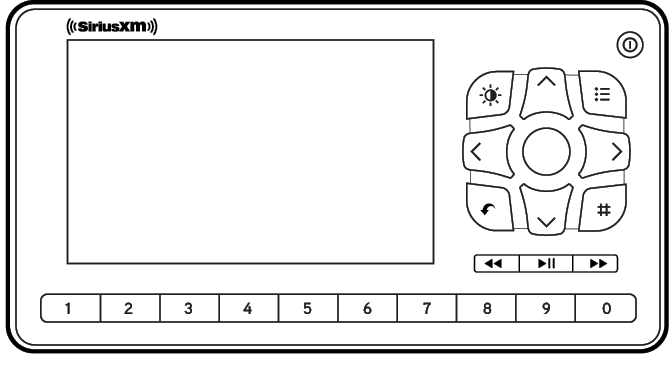
Press or to tune to other channels, and or to browse the different categories of channels. Learn what all the Roady BT buttons do in the panel below.
For your convenience, Roady BT has an on-board activation guide. You can activate your radio and subscribe to the XM service by using this guide, where you will be guided step-by-step through the subscription process. To access and use the guide, simply follow these steps:
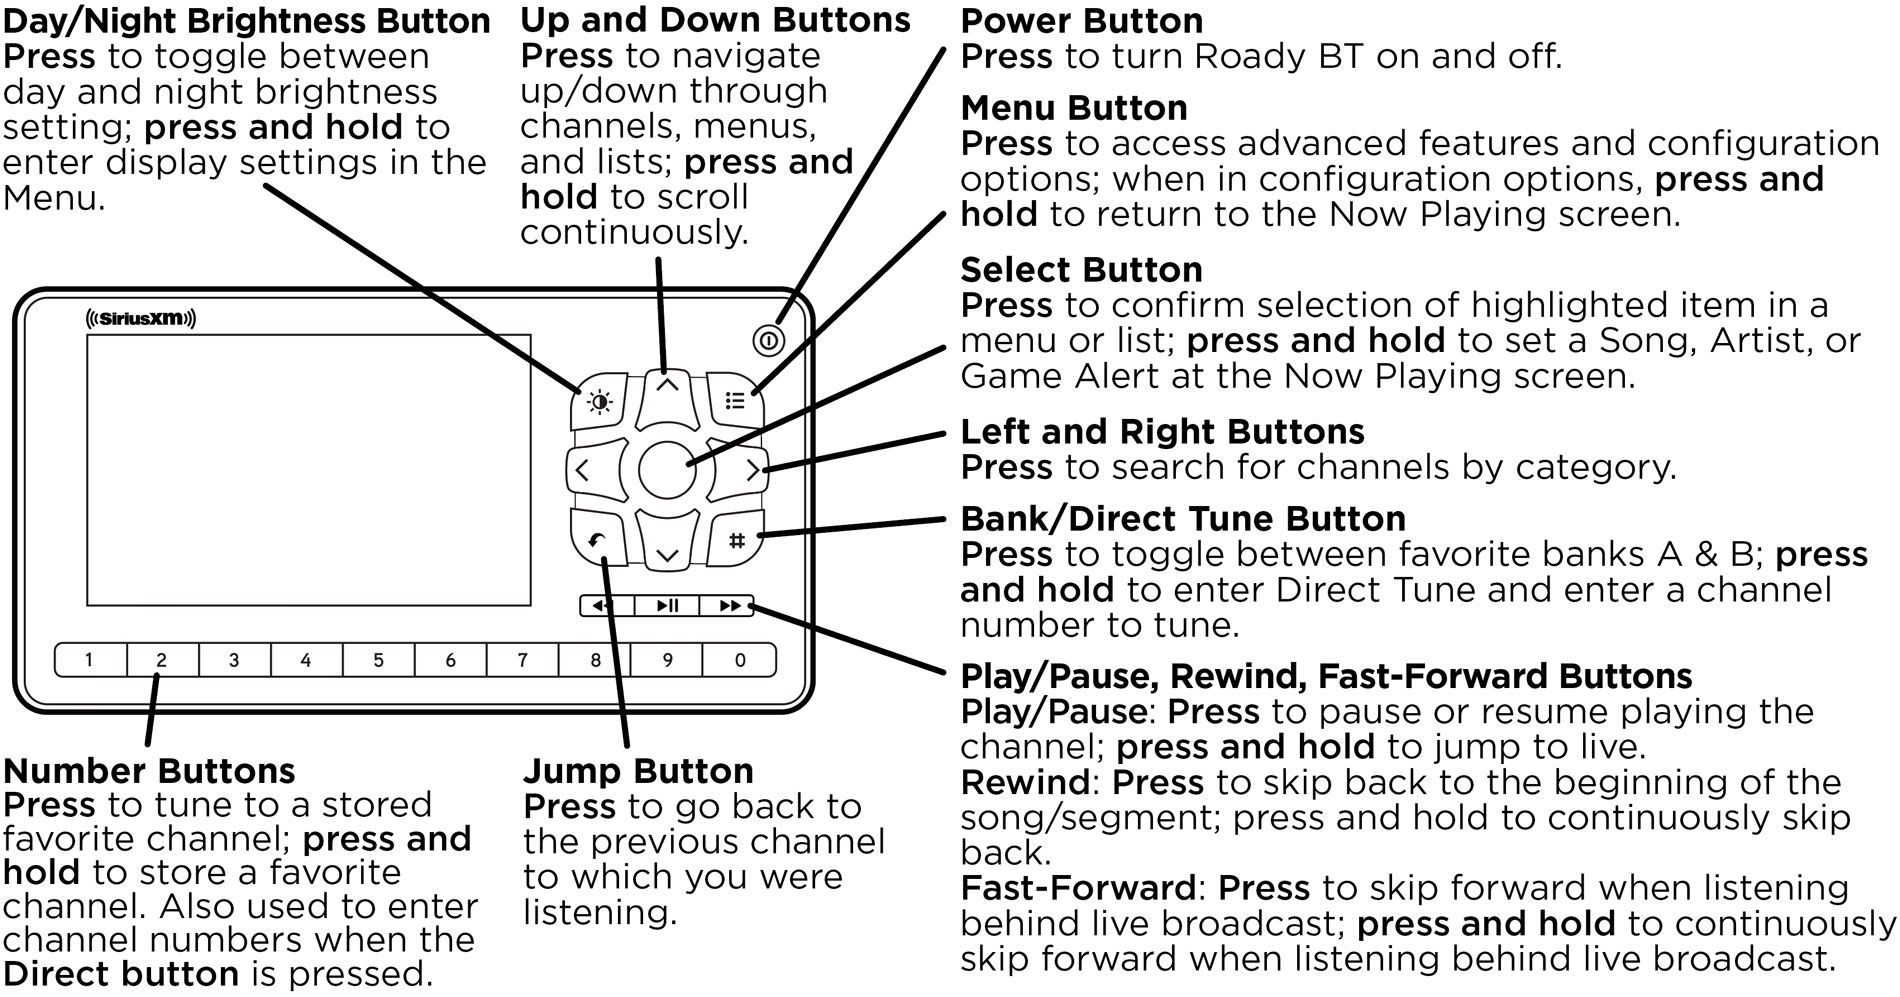
When listening to a channel, information about the channel and what is currently playing is displayed on the Now Playing screen. The Roady BT User Guide is available at: www.siriusxm.com/guides.

| System | |
| Power Requirements: | 9-16 V DC,500 mA (max) |
| Operating Temperature: | -4°F to +140°F (-20°C to +60°C) |
| Audio Output: | 1.0 Vrms (max) |
| Roady BT Display | |
| Dimensions: | 5.0 in (W) x 2.7 in (H) x 0.64 in (D) 128 mm (W) x 68 mm (H) x 16.35 mm (D) |
| Weight: | 4.1 oz (117 g) |
| Intelligent Power Adapter | |
| Dimensions: | 3.7 in (W) x 2.1 in (H) x 1.2 in (D) 94 mm (W) x 54 mm (H) x 31 mm (D) |
| Weight: | 1.9 oz (57 g) |
| Input / Output: | 9-16 V DC / 5 V DC, 1.0 A |
| Audio Connector: | 1/8 in (3.5 mm) female |
| Antenna Connector: | SMB male |
| FM Connector: | 3/32 in (2.5 mm) female |
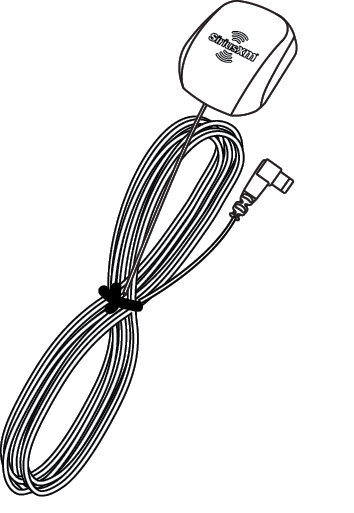
| Vehicle Antenna | |
| Type: | SiriusXM Magnetic Mount |
| Connector: | SMB female, right angle |
| Cable Length: | Approximately 23 ft (7.0 m) |
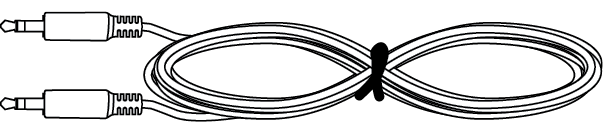
| Aux Audio Cable | |
| Connectors: | 1/8 in (3.5 mm) stereo male to 1/8 in (3.5 mm) stereo male |
| Cable Length: | Approximately 4 ft (1.2 m) |
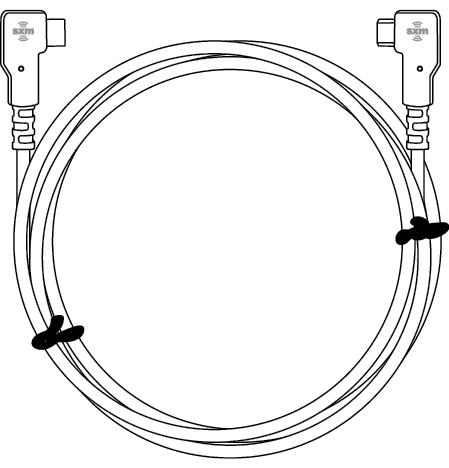
| Display Cable | |
| Connectors: | USB Micro-B male to male |
| Cable Length: | Approximately 6 ft (1.8 m) |
© 2026 SiriusXM Radio Inc. SiriusXM, Pandora and all related logos are trademarks of Sirius XM Radio Inc. and its respective subsidiaries. Other marks, channel names and logos are the property of their respective owners. All rights reserved. All rights reserved. The Bluetooth® word mark and logos are registered trademarks owned by Bluetooth SIG, Inc. and any use of such marks by SiriusXM is under license.
Hardware and subscription sold separately. Activation fee, other fees, and taxes required. All fees, content and features are subject to change. Our satellite service is available only to those at least 18 and older. Installation instructions are provided. You must determine if you have the knowledge, skills and ability required to properly perform installation. Professional installation recommended. You must ensure that all products are installed in adherence with local laws and regulations and in such a manner as to allow a vehicle to be operated safely and without distraction. SiriusXM product warranties do not cover the installation, removal, or reinstallation of any product.
The user is cautioned that changes or modifications not expressly approved by Sirius XM Radio Inc. can void the user’s authority to operate this device. This device complies with Part 15 of the FCC Rules. Operation is subject to the following two conditions:
This equipment has been tested and found to comply with the limits for a Class B digital device, pursuant to Part 15 of the FCC Rules. These limits are designed to provide reasonable protection against harmful interference in a residential installation. This equipment generates, uses, and can radiate radio frequency energy and, if not installed and used in accordance with the installation instructions, may cause harmful interference to radio communications. However, there is no guarantee that interference will not occur in a particular installation. If this equipment does cause harmful interference to radio or television reception, which can be determined by turning the equipment off and on, the user is encouraged to try to correct the interference by one or more of the following measures:
Part 15 Device Warning: Modifications by anyone other than the party responsible for compliance with the FCC rules may void the authority granted under FCC regulations to operate this device.
This Intelligent Power Adapter complies with FCC RF exposure limits set forth for an uncontrolled environment. This Intelligent Power Adapter should be installed and operated with a minimum distance of 20 cm (8 in) from your body.
WARNING! The FCC and FAA have not certified this Satellite Radio Receiver use in any aircraft (neither portable nor permanent installation). Therefore, Sirius XM Radio Inc. cannot support this type of application or installation.